With survey completion options, you can choose what respondents will see after they have finished taking your survey. You have two options available:
To access the survey completion options setting, navigate to the settings menu by clicking the settings icon () from the My Surveys page. Choose View/Edit Survey Completion Options under Survey Communication Properties.

Note that as part of the survey launch wizard you will also be asked to configure the survey completion option.
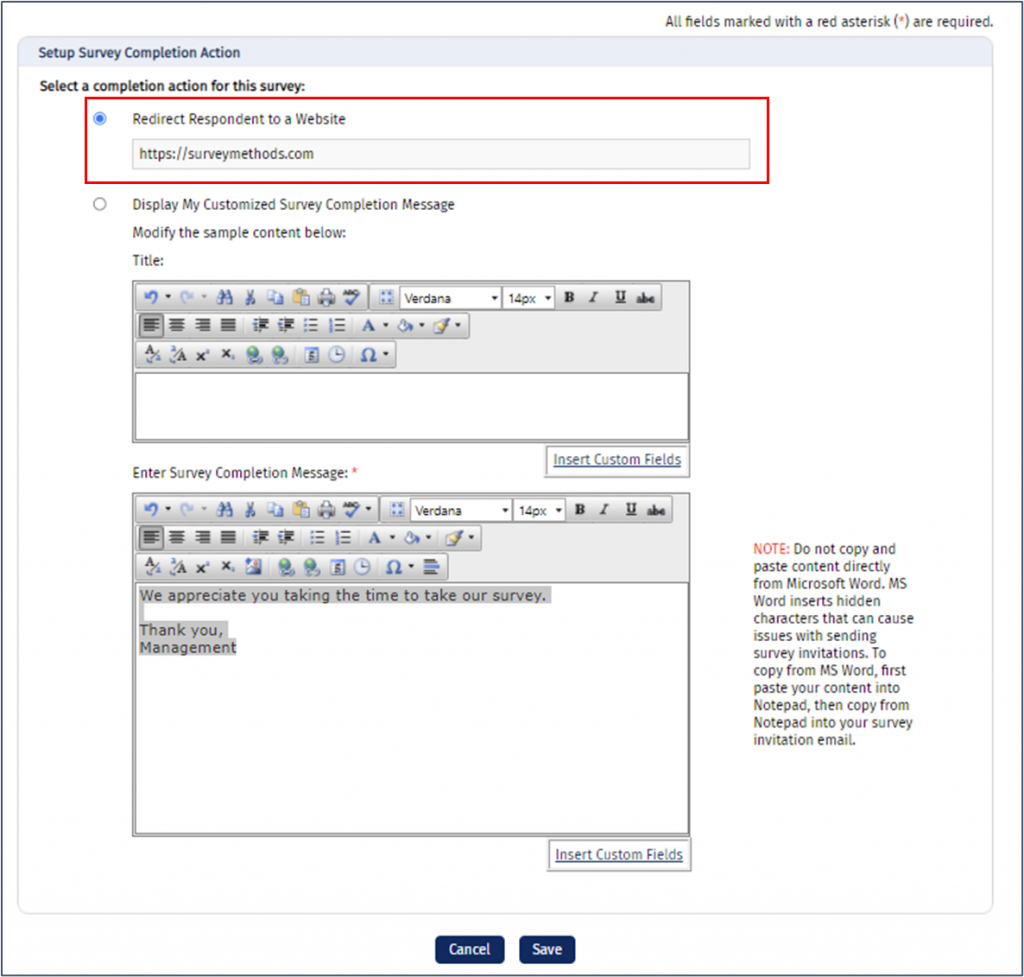
Redirect Respondents to a Website
If you choose “Redirect Respondent to a Website”, you simply need to enter the desired URL and hit Save. If desired, you can use this feature to redirect respondents to another survey by entering the survey web URL as the redirection destination. This can also be achieved by implementing unconditional page logic on the final page of the survey and using the Redirect to Another Survey page logic action.
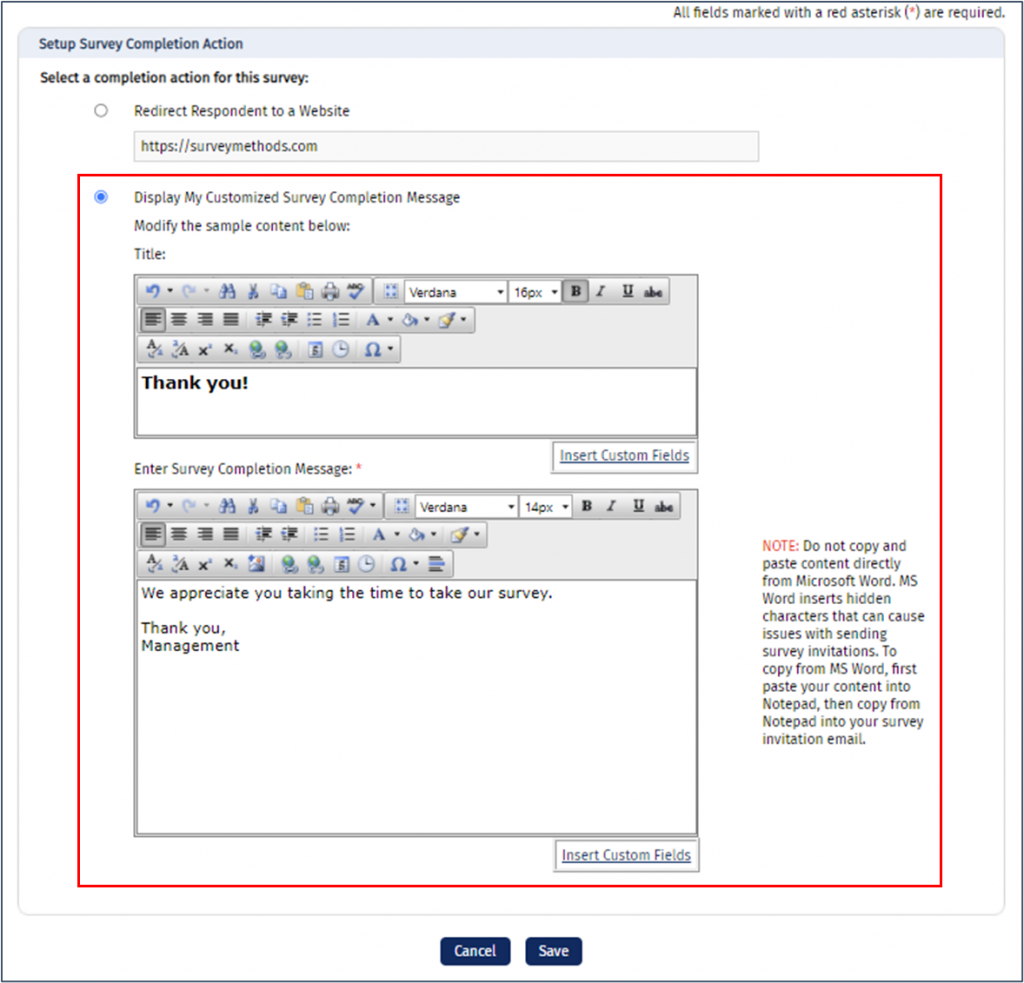
Display a Custom Message
If you instead want to display a custom message, you will choose “Display My Customized Survey Completion Message”. You can then change the default title and customize the message as needed. You can use the text formatting options to customize the format of the title or message body, such as adjusting the font style or size, making it bold or italics, or inserting a hyperlink.
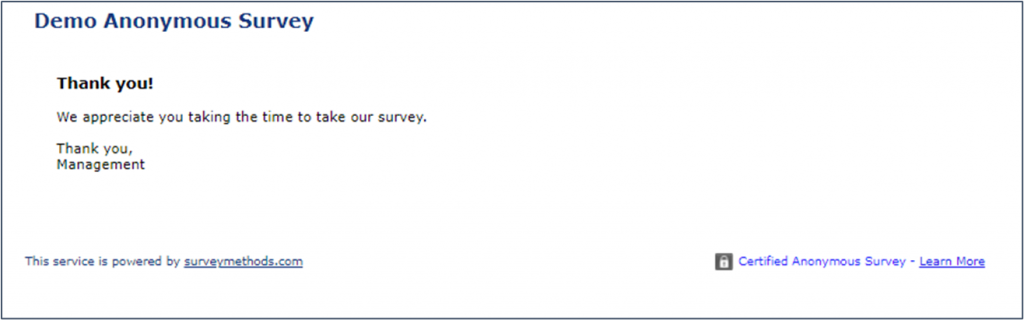
When a respondent submits their survey they will be shown the custom message.
Using Custom Field Values in the Survey Completion Message
You can insert custom field values into the completion message title or body, which will allow you to customize the message to recipients. For example, you can customize the salutation with the respondent’s first name if one of the custom fields contains that information.
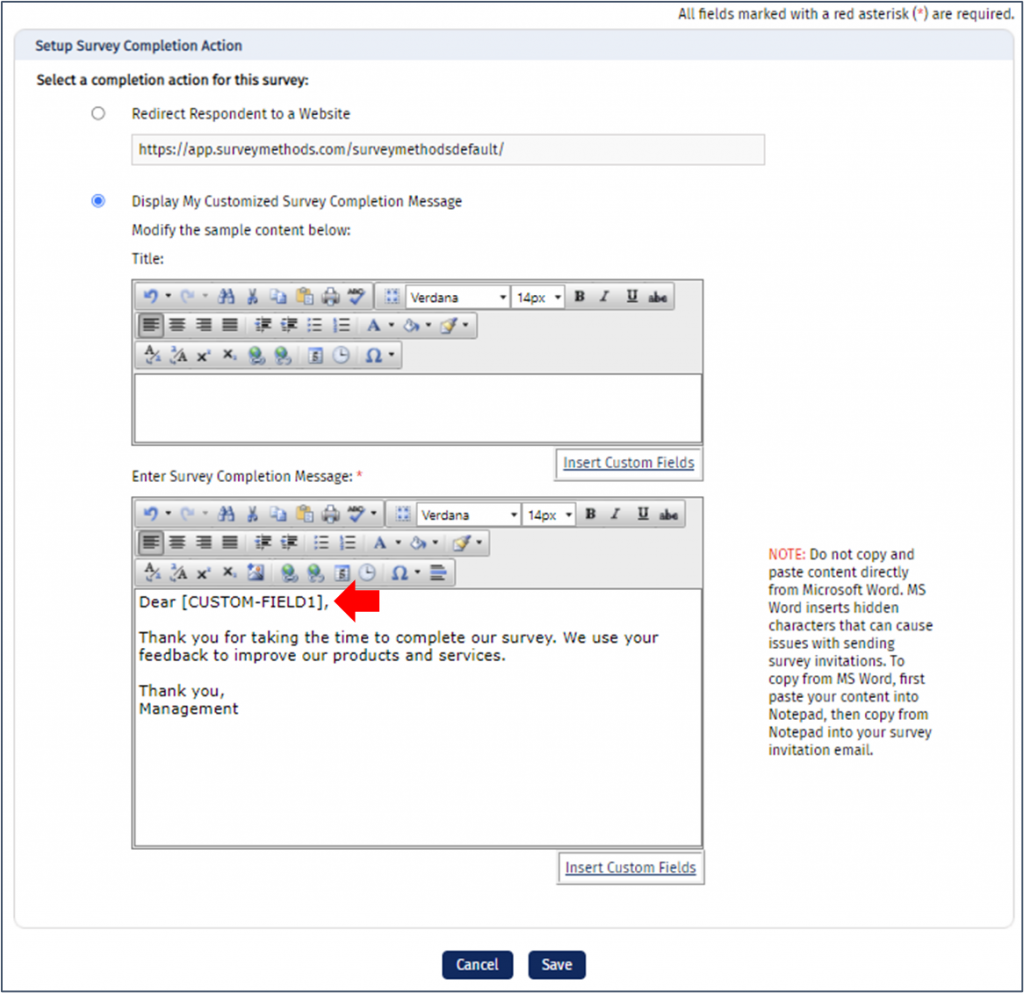
When the respondent clicks on their survey link, the [CUSTOM-FIELD1] tag will be replaced by the [CUSTOM-FIELD1] value that you defined in your advanced email list.
